
Installation Guides
Installation steps
- Prepare the overlapRemove water, dust, oil and the oxidised surface as required by the approved procedure.
- Make trial seamsVerify peel and shear performance using the same material batch, equipment and site conditions.
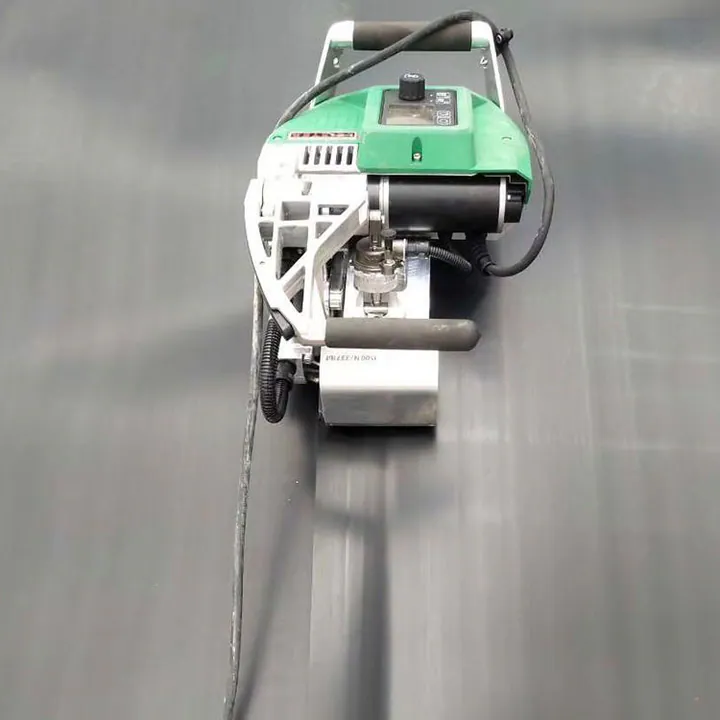
- Control production weldingMaintain the approved overlap and steady machine operation. Stop when abnormal conditions occur.
- Inspect and repairMark defects, extend inspection where required, complete the approved extrusion repair and retest.
Installation Guides
Inspection and acceptance checklist
| Stage | Process control | Required record |
|---|---|---|
| Before welding | Dry, clean surfaces and smooth overlaps | Weather, sheet temperature and roll numbers |
| Trial seam | Verify the temperature, speed and pressure combination | Trial-sample identification and peel/shear results |
| Production welding | Maintain steady travel and avoid wrinkles | Seam identification and start/end locations |
| Seam testing | Use the specified air-channel, vacuum and destructive tests | Results, defects, repairs and retest records |
Installation Guides
Common risks and controls
- Welding over rainwater or dewTrapped water and vapour can create channels and weak seams.
- Relying on visual inspection aloneA continuous-looking surface does not establish acceptable peel and shear performance.
- Missing seam identificationWithout traceable records, defects from the same shift or equipment cannot be reliably located.
Installation Guides
Project guidance
Determine the welding window through site trials using the actual liner thickness, sheet temperature, wind conditions and equipment. Reconfirm settings when conditions, the machine or the operator change. Long straight overlaps normally use dual-track hot-wedge welding, while patches and complex details use the approved extrusion-welding procedure. Record the date, machine, operator and roll numbers for each seam.
Technical basis